How to cook chicken breast so it stays juicy
Last updated October 20, 2026
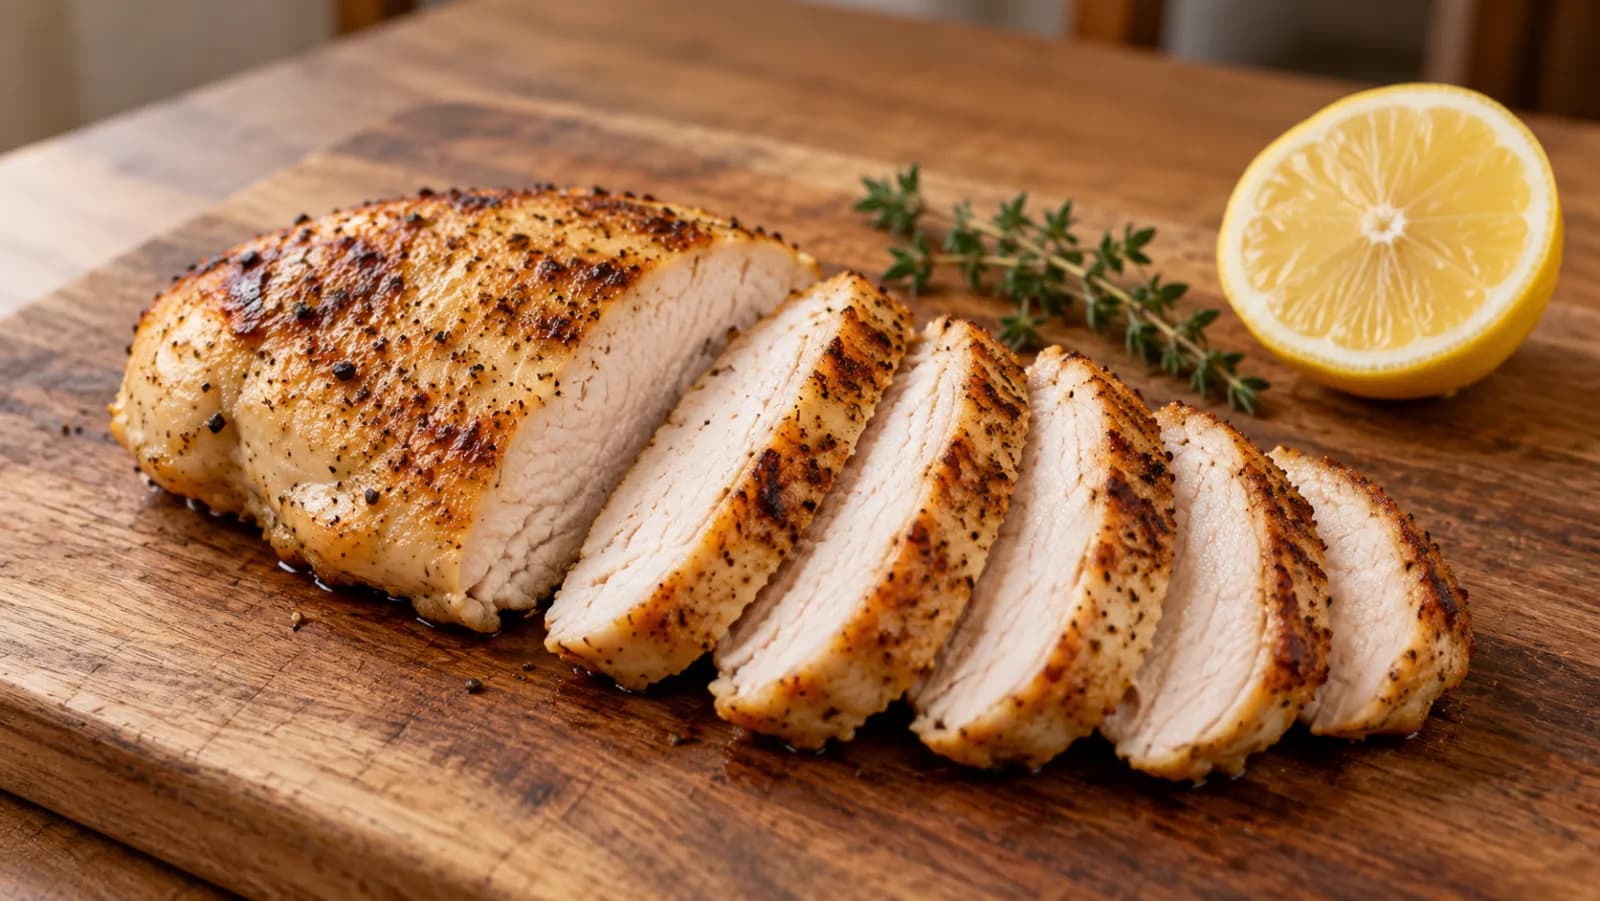
A breast is thick at one end and thin at the other, so one end is often done long before the other. Dry, stringy chicken and chicken that is raw in the thick end are both common results. The steps below even out the thickness, then cook and check the breast so the middle is cooked through without drying the rest.
The order of work
- Even out the thickness: halve, butterfly or pound, or cut into pieces.
- Season ahead, at least 45 minutes before cooking.
- For pan cooking, use medium heat, a single layer and an uncrowded pan.
- Check the thickest part, and take the chicken off once the middle has held the FSA time and temperature.
- Rest it for a few minutes, then slice across the grain.
These steps draw on Food Standards Agency (FSA) and America's Test Kitchen guidance and on three Nourishible recipes. We have not run our own cooking tests.
Before you start: handling raw chicken
Do not wash raw chicken. The FSA says washing it can spread campylobacter by splashing onto hands, work surfaces, clothing and cooking equipment. Halving, pounding and flouring all mean handling the raw meat, so wash your hands, the board and the knife after each of those jobs.
1. Even out the thickness first
A whole breast tends to cook unevenly because its ends are different thicknesses. You can handle this by halving or pounding the breast, by mincing it, or by leaving it alone and watching the probe. The three Nourishible recipes below each take a different approach.
| Recipe | What it does to the breast | Cooking time in the recipe |
|---|---|---|
| Lemon thyme skillet chicken breast | Nothing. Whole floured breasts go straight into the pan | 5 minutes a side over medium heat, "or until cooked through", then 3 more minutes in the pan sauce |
| Chicken scallopini with mushroom pan sauce | Slices each breast (10 to 12 oz, before halving) in half widthwise, then pounds it in a zip bag with a mallet or the bottom of a pot | 3 to 4 minutes in total (no flip stated) |
| Homemade chicken nuggets | Blitzes the chicken in a food processor, then shapes it into nuggets | 10 to 12 minutes in a 220°C oven, then 7 to 8 minutes after turning |
The first recipe leaves the thickness alone, so it is the one where a probe matters most: the recipe gives no breast weight, so its time is a starting point, not a promise for yours. The second removes the problem by making every piece roughly as thick as the next; the recipe's own editor note says that pounding to an even thickness is what lets the cutlets cook through in 3 to 4 minutes. The third mixes the chicken with potato and onion in a food processor and shapes small nuggets, so there is no thick end left to worry about. They are still chicken, so the same cooked-through check applies.
To halve a breast, slice it in half through its thickness with a sharp knife so you have two thinner pieces. To butterfly, slice through the thickness almost to the far edge and open it out like a book. To pound one, put it in a zip bag or between sheets of baking paper and tap from the thick end outwards with a mallet, rolling pin or the base of a pan until the piece is a similar thickness all over. Cut or pound until you can no longer find a clearly fatter end.
2. Season ahead
America's Test Kitchen says salt changes muscle proteins so that they hold on to more moisture, and recommends salting at least 45 minutes ahead, with 4 hours to overnight ideal. Salt the chicken on both sides, keep it covered in the fridge while it waits, and pat it dry before it goes into the pan.
None of the three recipes above salts ahead of time, so this step is extra to them. If you flour the chicken as the first two recipes do, season the flour as well. Both recipes do.
3. In a pan, use moderate heat and give the chicken room
Both pan recipes use medium heat for the chicken. A hotter pan tends to colour the outside before the middle is cooked, and the usual response, cooking it longer, tends to dry the thinner parts. Gentle heat is the safer choice for a thick piece.
Cook in a single layer with space between the pieces. The lemon thyme recipe's editor note warns that crowded breasts steam instead of browning, so cook in two batches or use two pans if four will not fit. Let the first side colour before you turn the chicken.
4. Check the middle against the FSA time and temperature
Do not guess from the colour of the surface. The FSA sets the standard as a time at a temperature: the middle of the food should reach 70°C for 2 minutes. It lists equivalent combinations, which are the same standard at other temperatures:
- 60°C for 45 minutes
- 65°C for 10 minutes
- 70°C for 2 minutes
- 75°C for 30 seconds
- 80°C for 6 seconds
Push a clean thermometer into the thickest part. The middle has to stay at that temperature for the whole time, so a probe that touches 70°C for a moment has not met it. The lower lines only count if the middle holds that temperature for the full time, which is hard to check for a breast in a pan, so work to 70°C held for 2 minutes, or a hotter line such as 75°C held for 30 seconds. This is UK guidance.
With no thermometer, the FSA's alternative is to cut into the thickest part and check that it is steaming hot all the way through, there is no pink meat, and the juices run clear. If the middle has not held the temperature or still looks pink, put the chicken back and check again. Once the middle has held the time you chose, take the chicken off the heat. Cooking well past that point is what dries out the thin end.
5. Rest, then slice across the grain
Rest the chicken for a few minutes before you cut it. Of the three recipes, only the nugget recipe says to rest, for a few minutes before serving. When you slice a breast, cut across the lines of the muscle fibres rather than along them; slicing across the grain is the usual advice for easier-to-chew slices.
What went wrong, and what to do next time
| What you see | Likely cause | Fix |
|---|---|---|
| Pale, no browning, liquid in the pan | Too many pieces for the pan, or a wet surface | Pat dry, cook in a single layer and work in batches |
| Dark outside, raw or pink in the middle | Heat too high for the thickness, or one end much thicker than the other | Lower the heat to medium, halve or pound the breast, and check the thickest part |
| Dry and stringy | Cooked well past the FSA time and temperature, often to rescue a thick end | Even out the thickness, start probing before the recipe time is up, and take it off once the middle has held the FSA time and temperature |
| Tough and chewy when sliced | Sliced along the grain, or overcooked | Rest it, cut across the grain, and check the thickest part earlier next time |
If the middle is not cooked when you cut it, return it to the pan or oven and check again.
When you want something else
For a dinner roundup built around chicken rather than technique, see 3 chicken dinners that do not taste the same. For more on the ingredient itself, see the chicken breast page.